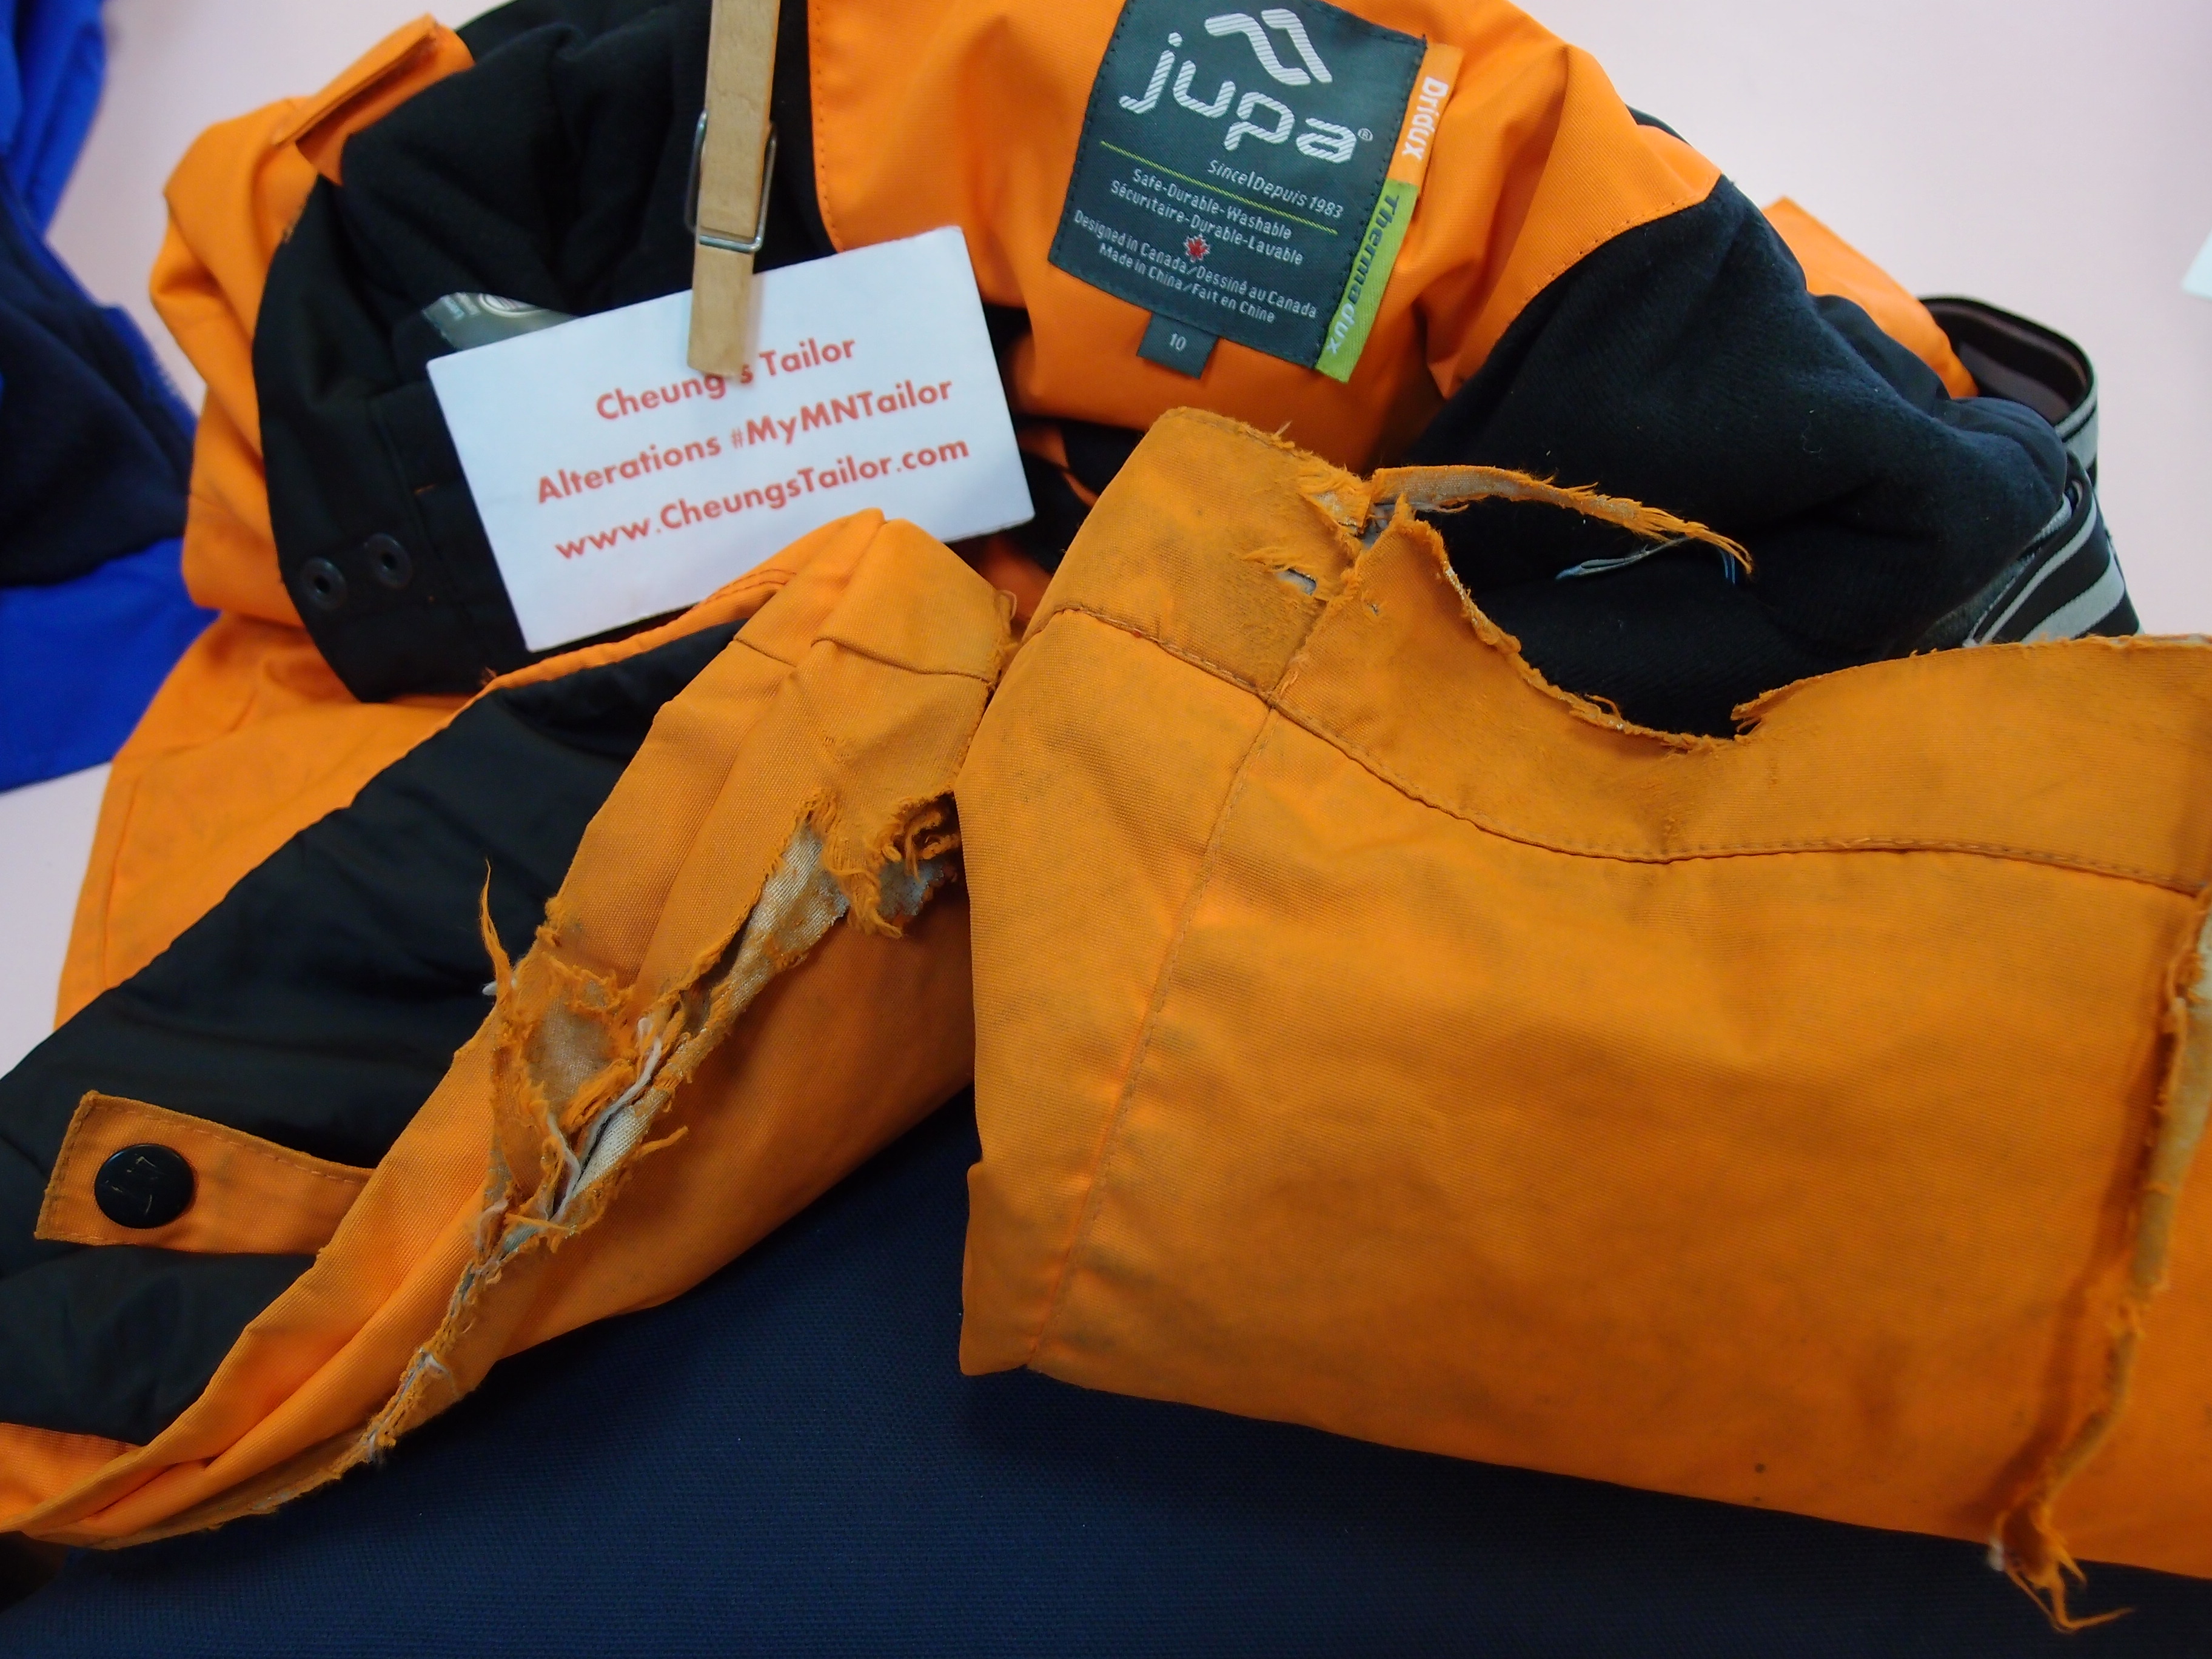
I had noticed that our clothing consultant had written about some Spring cleaning and getting your Spring wear repaired and stitched up. After we talked I wanted to do a piece for you guys as well! But about putting away all your winter gear! At Cheung’s Tailor I know we’re very much about helping the public understand more of what is possible. We’re really busy Spring time this year from local high school prom alterations just starting.
My goal for this blog is to help everyone understand the possibilities of cleaning and fixing your winter gear before you stuff it away into your closet for the next 9 months … if we’re lucky.
Most of us try to do some sort of laundry once a week. Maybe all at once or some now and some later. For your winter gear it’s gone through a lot may be you’ve been out skiing or the kids have played around in the snow but all the salt and dirt can become very damaging to your zipper and the fabric. Let me first start by saying. Clean them. Balling up your winter gear and stuffing it into the closet can mean disaster when it becomes cold out again. At Cheung’s Tailor they’ve been here for over 25 years in the same location, when they opened it was actually part of the Halloween Blizzard of 1991. So they know cold and they certainly understand winter gear.
I’m also a big outdoors enthusiast. Working with Cheung’s Tailor for several years now I’ve learned a lot about clothing, fabrics and repairs of course. I’ve also learned that a little repair can help you out long term. So following up our clothing design consultant on her last blog about Spring cleaning, it’ll be very similar for your winter gear. If it doesn’t fit or it’s worn and you were already in the market for a new one. Check with your local tailor shop and see what they can help you with. It’s nice to donate your items, but if it’s extremely damage it also doesn’t help the other person when it’s cold out. After you’ve sorted through the potential following garments:
- Under garment – like long sleeves and long johns
- Snow bibs
- Winter jackets
- Winter hats
- Winter gloves
- Winter boots
- Winter scarves
Step 1: Clean everything first: You may have sat outside at a friends campfire, spilled some hot chocolate at the last ski trip, or even sweat a little in it. You don’t want something sitting in your closet for several months stinking up the closet and making it a mess. Attracting bugs and mold possibly. So save your winter gear and make sure you wash it first!
Step 2: Look through each piece: Be prepared 2015 winter in Minnesota wasn’t this bad this year. Image though like December 2014 if we had a really bad blizzard. Are you ready to head out and plow? Look through each piece and see what can be possibly tailor and repaired. (Read my next blog about winter gear repairs). Check out the pockets maybe you’ll find some money!
Step 3: Sorting: Now that you’ve cleaned and repaired everything it’s time to sort it out. I like how the last article pointed out 4 steps for you. We generally wear our favorite jackets and coats. We’re also not more than likely wearing 2 at a time. Bring one to a consignment shop or donate it.
Step 4:Invest in “vacuum bags,”: Like the previous article, investing in a little bit to help organize your clothing may help you in the long term. Winter gear can be bulking especially if you have snowmobile pants or bibs. Purchase a vacuum bag, I’ve personally seen them at the dollar store and just get all the air out when you’re ready. I would personally say to ensure that all garments must be dry and dirt free. Furs, leathers, wool, faux fur or downs should be hung and not placed in a vacuum bag.
Step 5: Winter boots and shoes: They probably stink, some local cleaners can clean UGG boots. But for many other just heavy duty boots having a toothbrush, dish soap, and towel will do the trick. Once they’re dry you can separate the soles and stuff it with news paper or hang towels this will ensure that it’s moisture free.
I’ll be back with my winter gear repairs so stay tuned for all the exciting things you can do!

